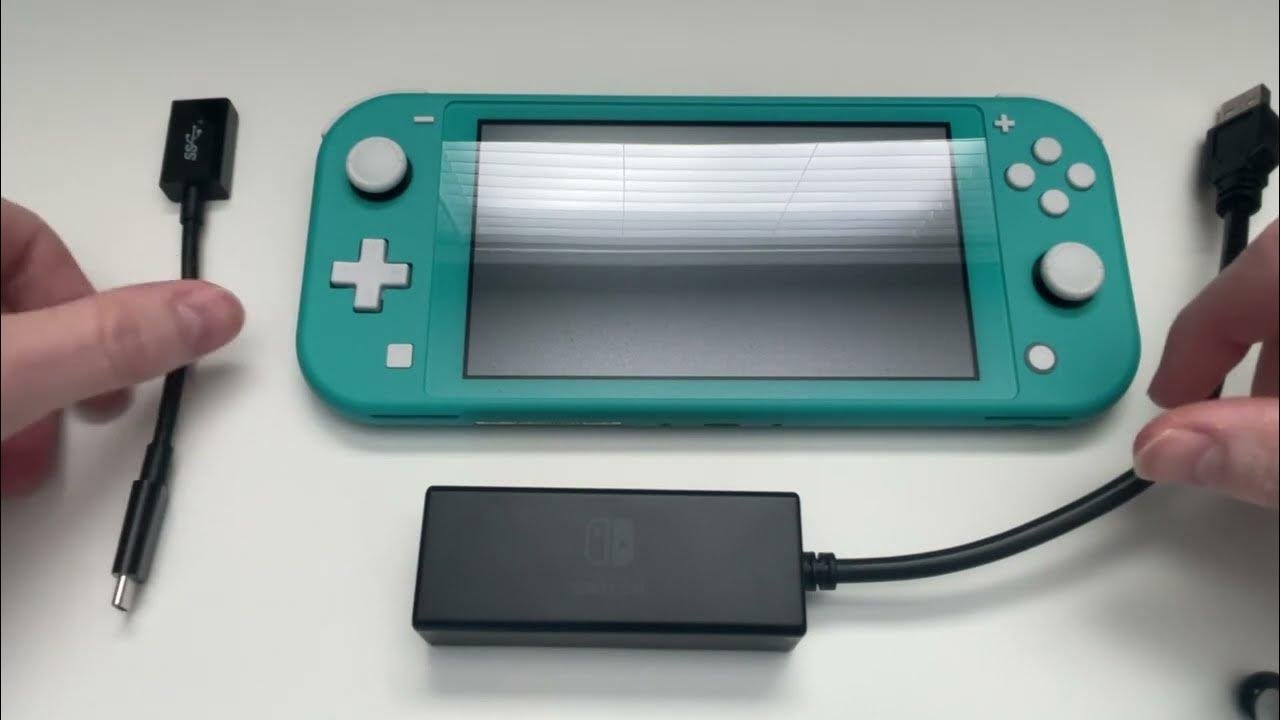
Connecting your Nintendo Switch to the internet using a wired connection is the best way to get stable, high-speed access—especially if you’re tired of lag during online play or frequent disconnections over Wi-Fi.
While most players use wireless by default, there’s something about plugging in that just feels more secure. Whether you’re using the original Switch, the OLED model, or even the Switch Lite with a compatible stand, the process is simple if you know what to do.

Let’s walk through everything step by step—model by model.
Connecting a Standard Nintendo Switch via Ethernet
If you’re using the original Nintendo Switch, connecting it with an Ethernet cable gives you faster and more reliable access than Wi-Fi—perfect for downloading games, streaming, or playing online without interruptions.
Here’s what you’ll need:
- A Nintendo Switch Dock
- A USB LAN adapter
- An Ethernet cable
- Access to your router or modem
Step-by-Step Setup:
- Plug the LAN adapter into your dock.
Use one of the USB ports on the side of the dock. This is where the adapter gets power and communicates with the Switch. - Connect the Ethernet cable.
Plug one end into the LAN adapter, and the other into an open LAN port on your router or gateway. - Place your Switch in the dock.
Make sure the console is in TV mode. Wired connections are only available when docked. - Open System Settings.
From the HOME Menu on your Switch, scroll down to System Settings. - Navigate to Internet > Internet Settings.
The console will begin searching for nearby wireless networks. Wait a moment for the wired option to show. - Choose “Wired Connection.”
Select Connect to the Internet via Wired Connection. - Let the Switch test your connection.
If successful, you’ll get a confirmation. If not, you’ll see an error message with troubleshooting tips.
Note: Even if you prefer wired, it’s smart to also set up a Wi-Fi connection as a backup. That way, you’re still connected if you ever undock the console.
Wired Internet Setup for the Nintendo Switch – OLED Model
The OLED model makes things even easier thanks to its built-in LAN port on the dock. No need for a separate adapter—just plug and play.
Here’s how to do it:
- Plug the Ethernet cable directly into the dock.
No adapter needed. The LAN port is built-in on this version. - Insert your Switch into the dock (TV mode).
- Head to System Settings > Internet > Internet Settings.
- Wait for “Wired Connection” to appear, then select it.
- Run the connection test.
If all goes well, you’ll see the success message. Otherwise, the console will show an error code you can use for troubleshooting.
Just like with the standard model, Nintendo also recommends setting up Wi-Fi as a backup. Wired is great—but it’s not available when playing undocked.
How to Use a Wired Connection on Nintendo Switch Lite
The Nintendo Switch Lite wasn’t designed for docked play, but that doesn’t mean you can’t use a wired connection. You just need the right accessories.
What you’ll need:
- A Dual USB PlayStand (or a similar licensed stand that supports USB connectivity)
- A USB LAN adapter
- An Ethernet cable
- Access to your router or gateway
Setup Instructions:
- Place the Switch Lite on the PlayStand.
This acts as a dock substitute and allows you to connect USB accessories. - Connect the LAN adapter to the stand.
- Plug in your Ethernet cable.
One end goes into the LAN adapter, and the other into your router. - On the console, go to System Settings.
Just like on the regular Switch, find this on the HOME Menu. - Navigate to Internet > Internet Settings.
- Wait for the console to display “Wired Connection.”
- Select it, then choose “Connect to the Internet via Wired Connection.”
- Let the system run its connection test.
If successful, you’re good to go. If not, check the error code for troubleshooting hints.
Final Thoughts: Is Wired Internet Worth It on the Switch?
If you’re playing competitive games like Super Smash Bros. Ultimate, Splatoon, or Mario Kart 8 Deluxe, then yes—wired internet is worth it. The difference in stability is noticeable, especially during peak hours when Wi-Fi gets crowded.
Wired internet is also perfect for:
- Large game downloads
- Streaming from the eShop
- Cloud gaming services like Nintendo Switch Online + Expansion Pack
And perhaps most importantly—it keeps your connection consistent. No more rubber-banding or sudden drops when you’re about to win.
So, whether you’re using the standard Switch, the OLED model, or even the Switch Lite with a bit of setup, plugging in your console is still one of the smartest ways to get the most out of your internet.