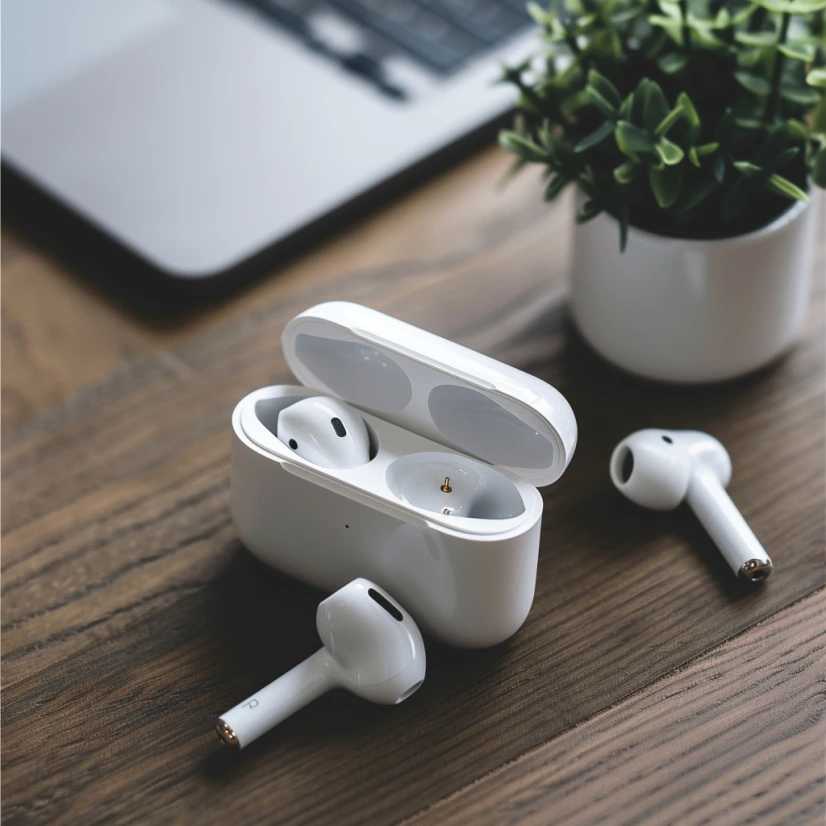
If you haven’t checked your earbuds lately, you might want to take a closer look. Over time, they collect wax, sweat, dust, and who knows what else — all the stuff you really don’t want sitting inside your ears every day. It’s not just a matter of appearance either. Dirty earbuds can affect how your music sounds, how comfortable they feel, and in some cases, they could even lead to ear infections.
Table of Contents
Let’s break down exactly how to clean earbuds properly — step by step — without damaging them, and why this small habit matters more than you think.
Why Cleaning Your Earbuds Matters
Most of us wear earbuds almost daily. Whether it’s during a workout, commuting, or just listening to a podcast in bed, they stay in for hours. But all that use comes at a price. The combination of earwax, body oils, sweat, and trapped moisture can quickly turn them into a breeding ground for bacteria.
Doctors have warned that frequent earbud use can block natural earwax drainage, pushing wax deeper into the canal. This can lead to discomfort, pressure buildup, and infections. According to one ENT specialist, earbuds can contain more bacteria than a cutting board — even six times more than a kitchen sink. If you’ve ever felt ear irritation after wearing them too long, now you know why.
What You’ll Need to Clean Your Earbuds
The good news is, you probably already have everything you need at home. You don’t need to buy an expensive kit unless you want something more specialized.
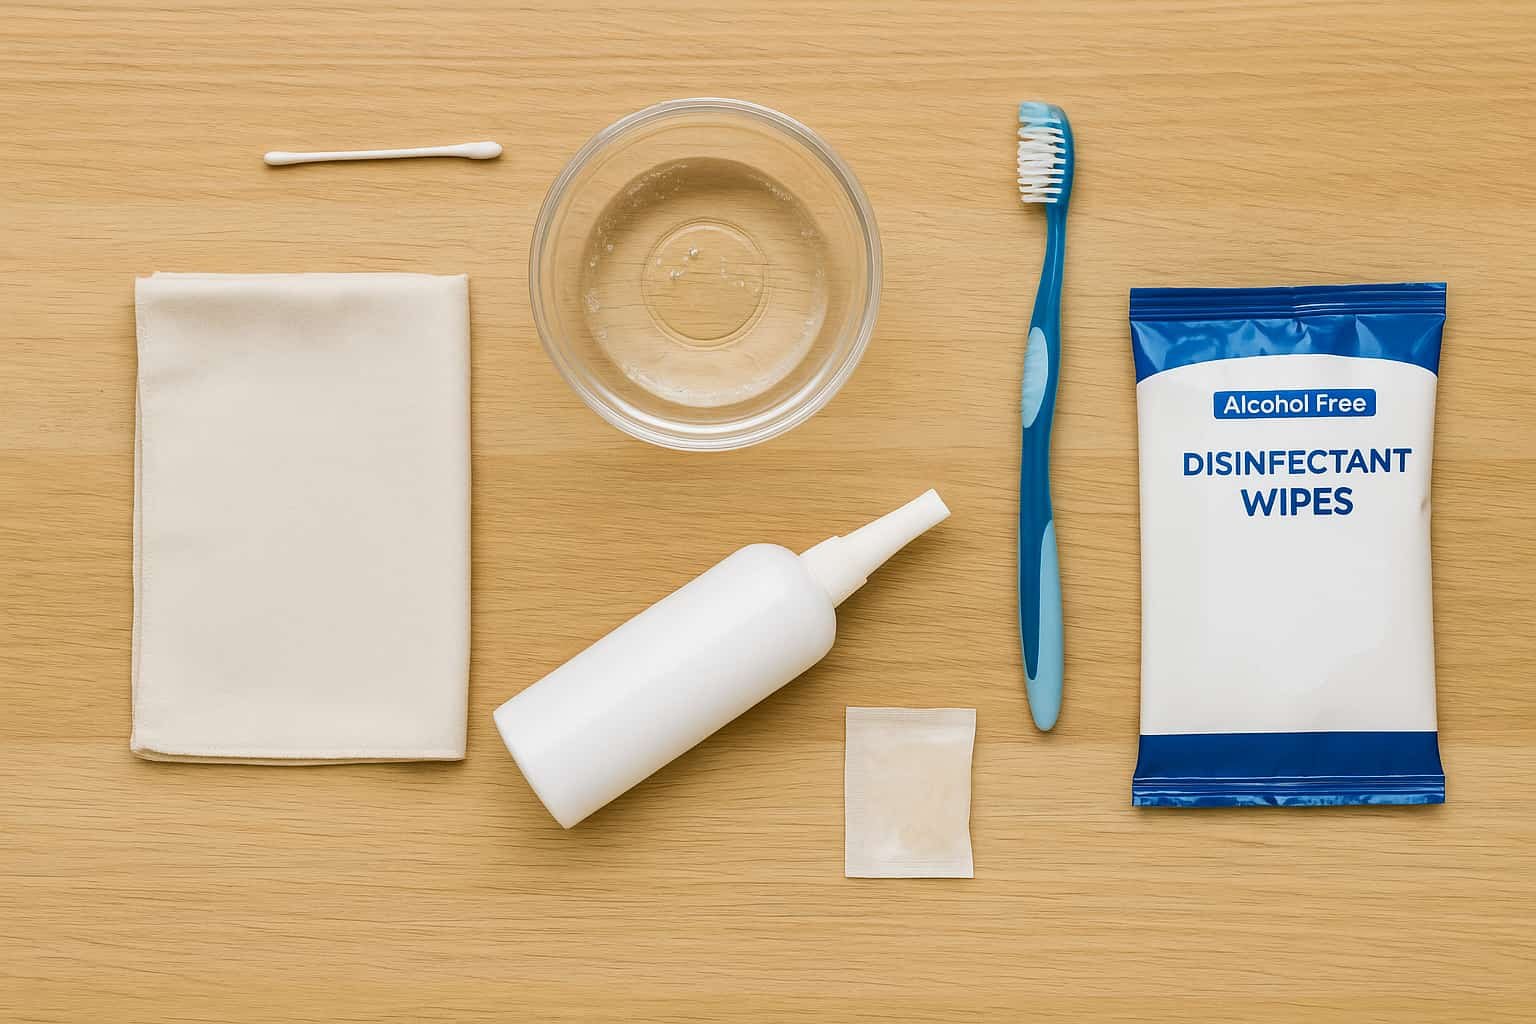
Here’s a basic list to start with:
- A dry microfiber cloth
- A cotton swab (Q-tip)
- An old toothbrush or soft-bristle brush
- Mild soapy water
- Alcohol-free disinfectant wipes
- A can of compressed air (optional)
- A silica gel packet (for moisture control)
If your earbuds come with silicone tips, you can also detach those and soak them separately. But more on that in a minute.
Step-by-Step: How to Clean Earbuds Properly
1. Unplug and Power Down
Start by disconnecting your earbuds from any device. If they’re wireless, turn them off. Make sure they’re not charging, and if possible, remove the silicone tips before cleaning.
2. Wipe the Exterior First
Take your microfiber cloth and gently wipe the outer surfaces of each earbud. This removes oil and surface dirt without scratching. Avoid using any rough paper towels or tissues — they can leave lint or cause minor abrasions.
3. Tackle the Earbud Grilles
This is the trickiest part, where wax buildup is most common. Use a dry toothbrush or a soft-bristled brush and gently scrub the mesh area. Don’t press too hard, and never poke anything sharp into the holes — you could damage the drivers inside.
If anything remains stuck, lightly tap the earbud on a soft surface like a towel to dislodge particles. You can also try compressed air, but use it in short bursts and keep some distance.
4. Disinfect Safely
Now that visible debris is removed, take an alcohol-free disinfectant wipe or slightly damp microfiber cloth and gently clean the earbuds. Focus on areas that touch your skin — especially around the tips and the outer shell. Avoid letting moisture seep into the internal components.
5. Clean the Silicone Tips
If your earbuds have removable silicone or foam tips, take them off and let them soak in warm, soapy water for about 30 minutes. Use a mild soap without added oils or lotion. After soaking, rinse thoroughly, let them air dry completely, and only then reattach.
Never reattach tips while damp — this could trap moisture and lead to bacterial growth.
Don’t Forget the Charging Case
You’d be surprised how dirty your charging case can get. Wax, dust, and lint often build up inside, especially around the charging contacts.
Here’s how to clean it properly:
- Use a dry cotton swab to clean inside each earbud slot
- Use a soft brush or compressed air to remove lint from the charging pins
- Wipe down the outside with a lightly dampened cloth
- Avoid getting moisture into the USB or charging port
If there’s visible grime stuck in the corners, a soft brush or even a toothpick (used gently) can help break it loose. Some people even use a bent paperclip — just be very careful not to scratch or damage anything inside.
How Often Should You Clean Your Earbuds?
How often you clean your earbuds really depends on how often you use them. If you wear them every day—especially during workouts or while commuting—you should wipe them down at least once a week. For light or occasional use, cleaning them every couple of weeks might be enough. And a full deep-clean, including the ear tips and charging case? Aim for once a month.
If you start noticing muffled sound, discomfort, or any strange smell (yes, it happens), that’s your cue to clean them immediately.
Common Mistakes to Avoid When Cleaning Earbuds
Even though it sounds simple, a lot of people damage their earbuds because of one of these common mistakes:
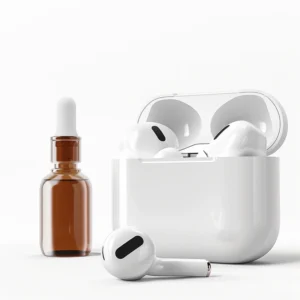
- Using alcohol wipes or isopropyl alcohol directly on rubber, foam, or plastic. It can wear down the material over time. If you must use it, dilute it and apply it sparingly with a cloth.
- Soaking the earbuds themselves in water or any liquid. This will almost always cause irreversible damage.
- Using sharp objects like toothpicks, pins, or metal tools to scrape the mesh. This can tear the fine filter inside and ruin the audio quality.
- Not drying silicone tips completely before reattaching them. Moisture inside the tips can cause bacteria buildup.
- Neglecting the charging case, which can undo all your cleaning efforts if it’s full of debris.
Avoiding these will keep your earbuds in better shape for longer and prevent sound issues.
Can Dirty Earbuds Really Cause Infections?
The short answer: yes, they can. While earbuds themselves don’t cause infections, they can create the right conditions for them. If you wear them for long periods—especially when sweating—or don’t clean them regularly, moisture and bacteria build up. If your ear canal is scratched (even slightly), it’s easier for bacteria to enter and cause problems.
Studies have shown that earbuds can host bacteria like staphylococcus and pseudomonas—both of which can lead to outer ear infections. You may not get sick from them, but if your ears start to feel itchy, irritated, or painful, it’s best to stop using earbuds for a few days and let your ears rest.
The best defense is simply regular cleaning.
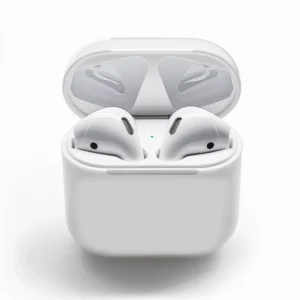
How to Clean AirPods, Galaxy Buds, and Other Brands
Most major brands have similar cleaning requirements, but it’s a good idea to check your product’s specific manual. Here’s a quick summary for the most popular ones:
- Apple AirPods / AirPods Pro: Use a dry, soft-bristled brush on the mesh. Do not use sharp objects. Silicone tips (on Pro models) can be removed and washed with soapy water.
- Samsung Galaxy Buds: Clean the outside with a microfiber cloth. Remove the ear tips and wash them. The mesh area can be wiped gently with a cotton swab.
- Sony WF-series earbuds: Follow the same pattern—soft cloth for the body, gentle brush for the speaker grille, and washable silicone tips.
- Beats / JBL / Jabra: Avoid moisture in the speaker grille. Use the manufacturer’s cleaning kit if included, or stick to gentle household tools.
No matter the brand, avoid alcohol, never submerge, and dry everything completely before use.
Final Thoughts: How to Clean Earbuds Properly
If you’ve made it this far, you now know exactly how to clean earbuds properly—from the silicone tips to the charging case. It’s not just about hygiene; clean earbuds give you better sound, last longer, and are less likely to irritate your ears.
Make it a routine: a quick wipe after each use, a deeper clean every few weeks, and regular case maintenance. You’ll protect your investment, and your ears will thank you.
Remember, the easiest way to keep your earbuds clean is to start with clean ears. Good hygiene on both ends makes a big difference.