Upgrading your monitor might seem like a small change, but for gaming, it can completely transform the way everything feels and looks. Whether you’re switching to a faster refresh rate, better color accuracy, or just a bigger screen, the difference is usually obvious from the moment you turn it on. But first — you need to set it up right.
I’ve done this a few times, and in this post, I’ll walk you through how to install your new gaming monitor step by step. No tech jargon, no overcomplicated instructions — just what you need to get started.
Step 1: Disconnect Your Old Monitor
Start simple. Shut down your PC completely and unplug it from the wall — just to be safe. If your old monitor is still plugged in, remove all the cables one by one. Video cable, power cable, audio cable if there is one — all of it goes.
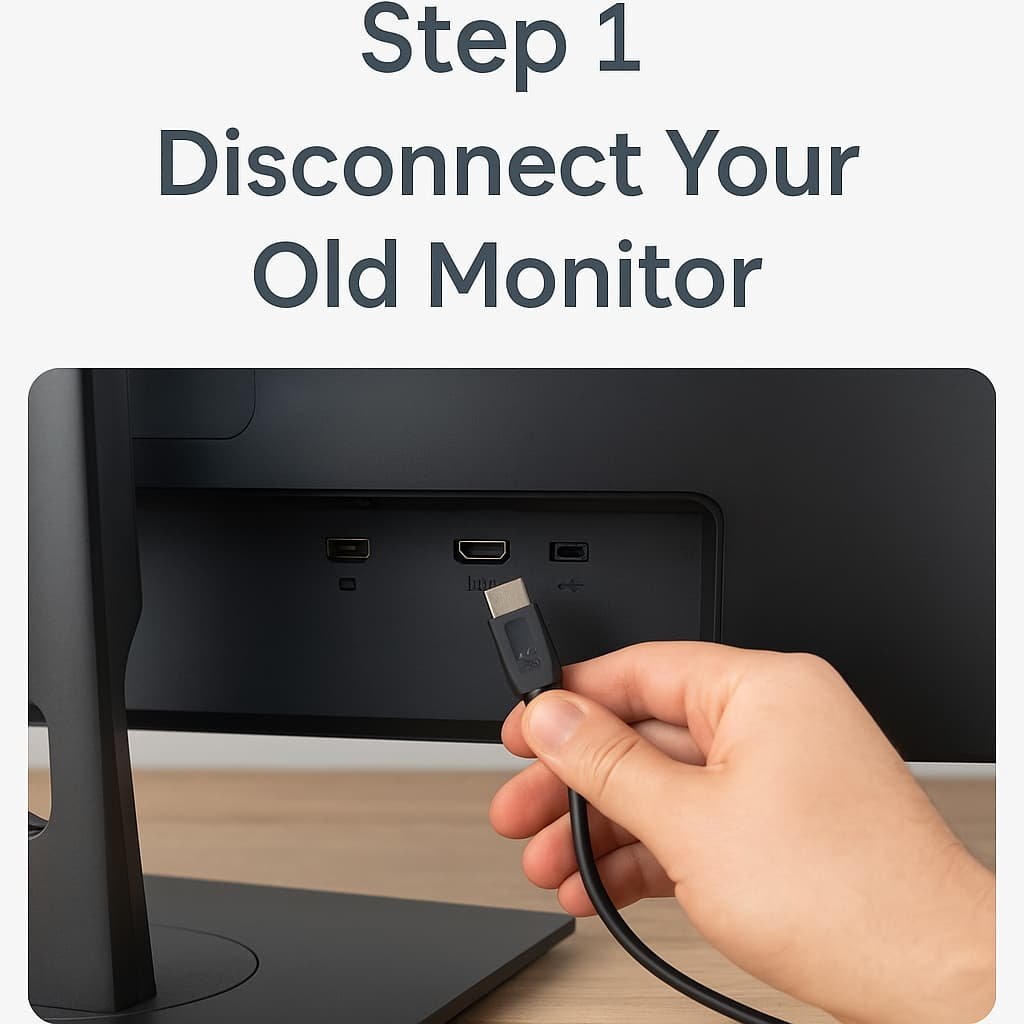
Now pause for a second and take a look at the cable you were using. Some older monitors use VGA or DVI. Most new ones use HDMI or DisplayPort. If the cable you had before doesn’t fit your new monitor, you’ll either need to use a different one (most monitors include one in the box) or grab an adapter. Don’t throw anything away yet — just set it aside.
Clear your desk, clean up the space, and get ready for the new setup. Trust me, it’s easier when the area isn’t cluttered.
Step 2: Unbox the New Monitor
This part is exciting, but take your time. Modern gaming monitors are bigger, thinner, and in some cases, heavier than you might expect.
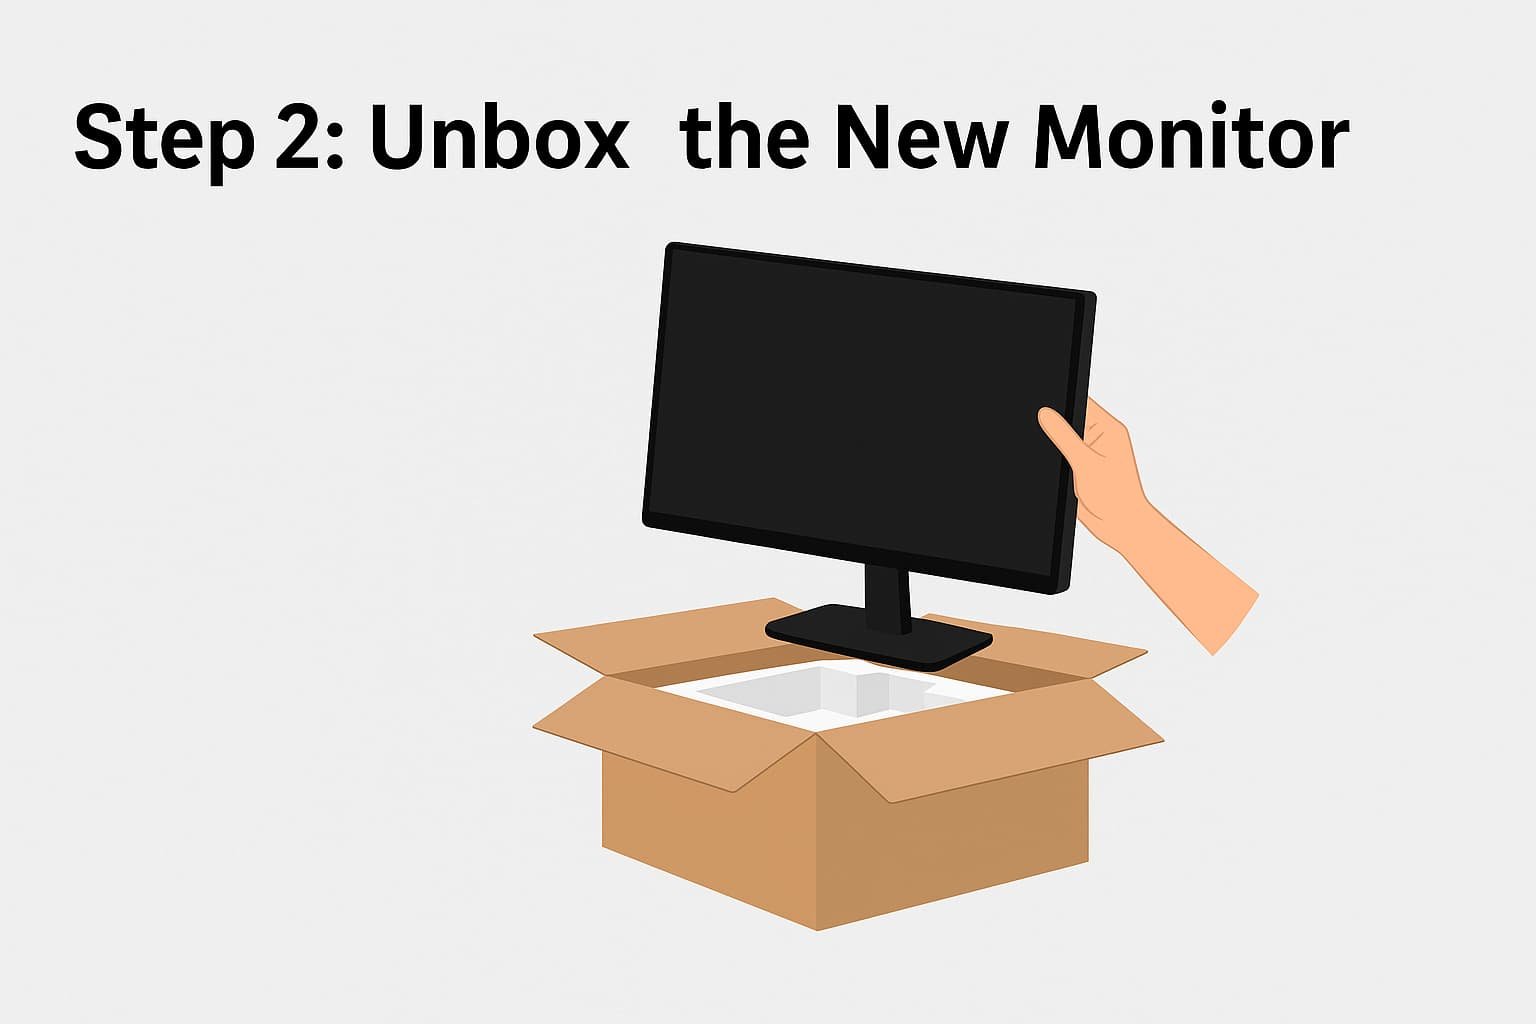
Lay everything out: the stand, base, cables, and any papers that come with it. If the stand comes in pieces, assemble it first. Every brand is a bit different, but if you’re not sure about the setup, check the quick start guide. They’re usually just one or two pages and show exactly how to put everything together.
Don’t peel off the screen protector just yet. Wait until you’ve got everything in place — no need to risk scratching it during setup.
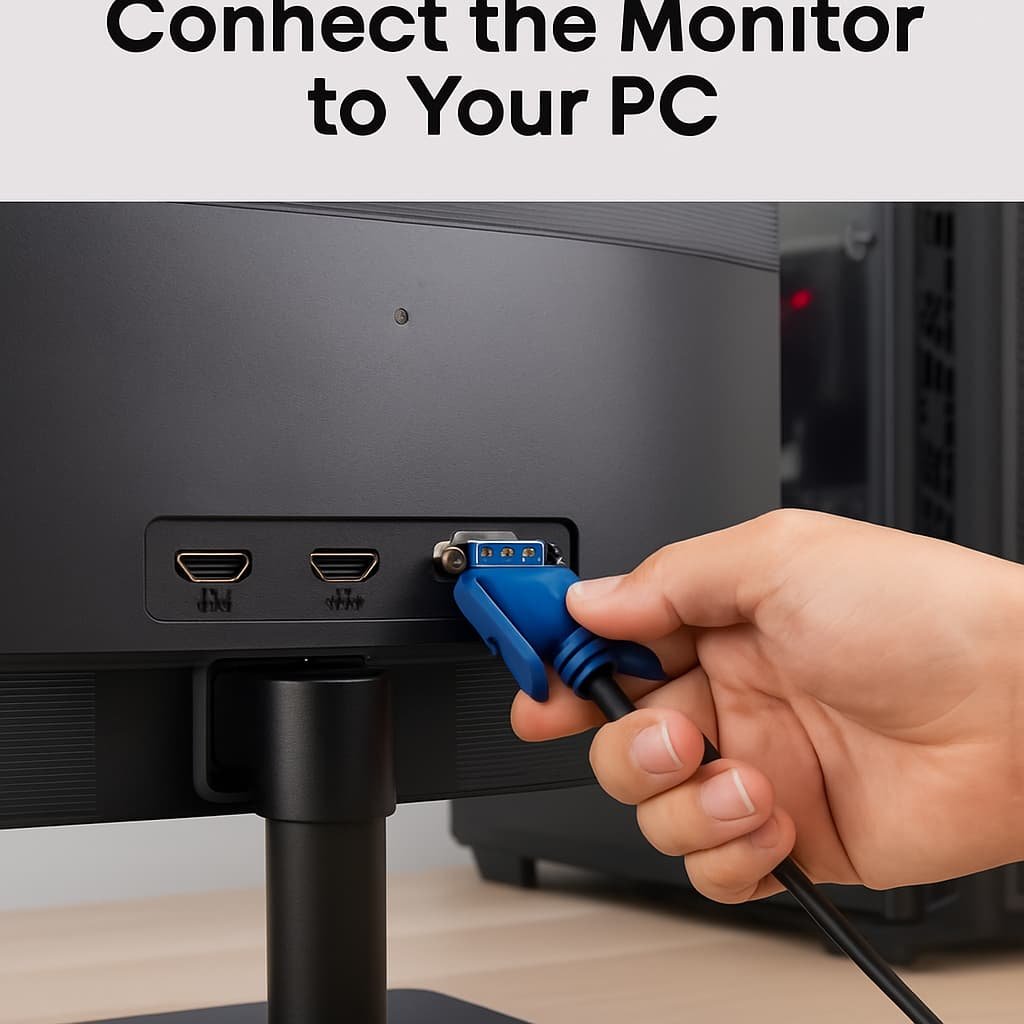
Step 3: Connect the Monitor to Your PC
Now the important part — getting the video signal from your PC to the new monitor.
Look at the back of the monitor and your graphics card. You’ll likely see one or more of the following:
- HDMI – very common, solid for most gamers
- DisplayPort – preferred for high refresh rate gaming (144Hz or more)
- USB-C – mostly on newer monitors and laptops
- DVI / VGA – older, not ideal for gaming today
Your monitor probably came with either an HDMI or DisplayPort cable — use whichever fits both your monitor and graphics card.
Plug in the video cable first. Then plug in the power cord. Keep both ends secure, and double-check you’ve used the correct input on your monitor (some have multiple ports).
If nothing fits — don’t worry. There are cheap adapters that can convert HDMI to DisplayPort, or vice versa. Worst case, you may need a new cable.
Step 4: Power It On
Turn on your monitor first. Look for the small power button — it’s usually tucked under the edge of the screen or on the back. Once it lights up, power on your PC.
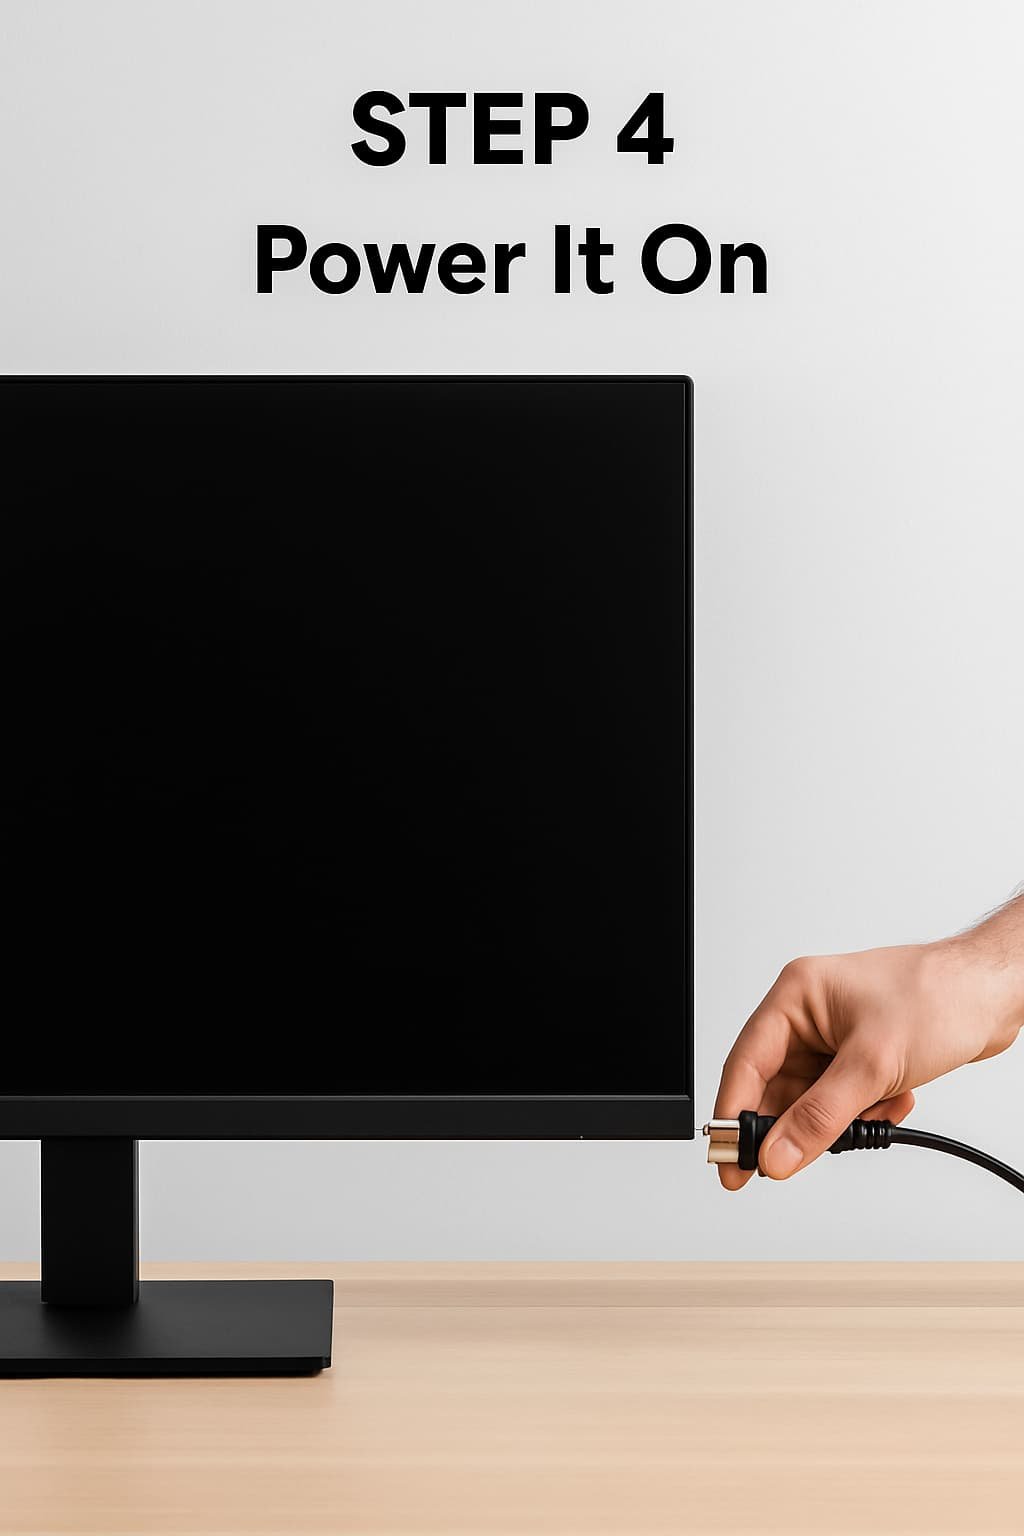
Most of the time, the new monitor will be detected automatically. You’ll see the BIOS logo, then Windows will load. If not, here are a few quick checks:
- Make sure the monitor is on the correct input (use the monitor’s menu to switch between HDMI, DisplayPort, etc.)
- Recheck the cable — unplug and plug it in again
- Try another cable if you have one
If all’s well, you should now be looking at your desktop on a fresh new screen. But we’re not done yet — next comes the setup part.
Step 5: Adjust Your Display Settings in Windows
Now that the monitor is up and running, it’s time to make sure it’s running the way you want it to. Windows doesn’t always pick the best settings automatically — especially if your new monitor supports high refresh rates or unusual resolutions.
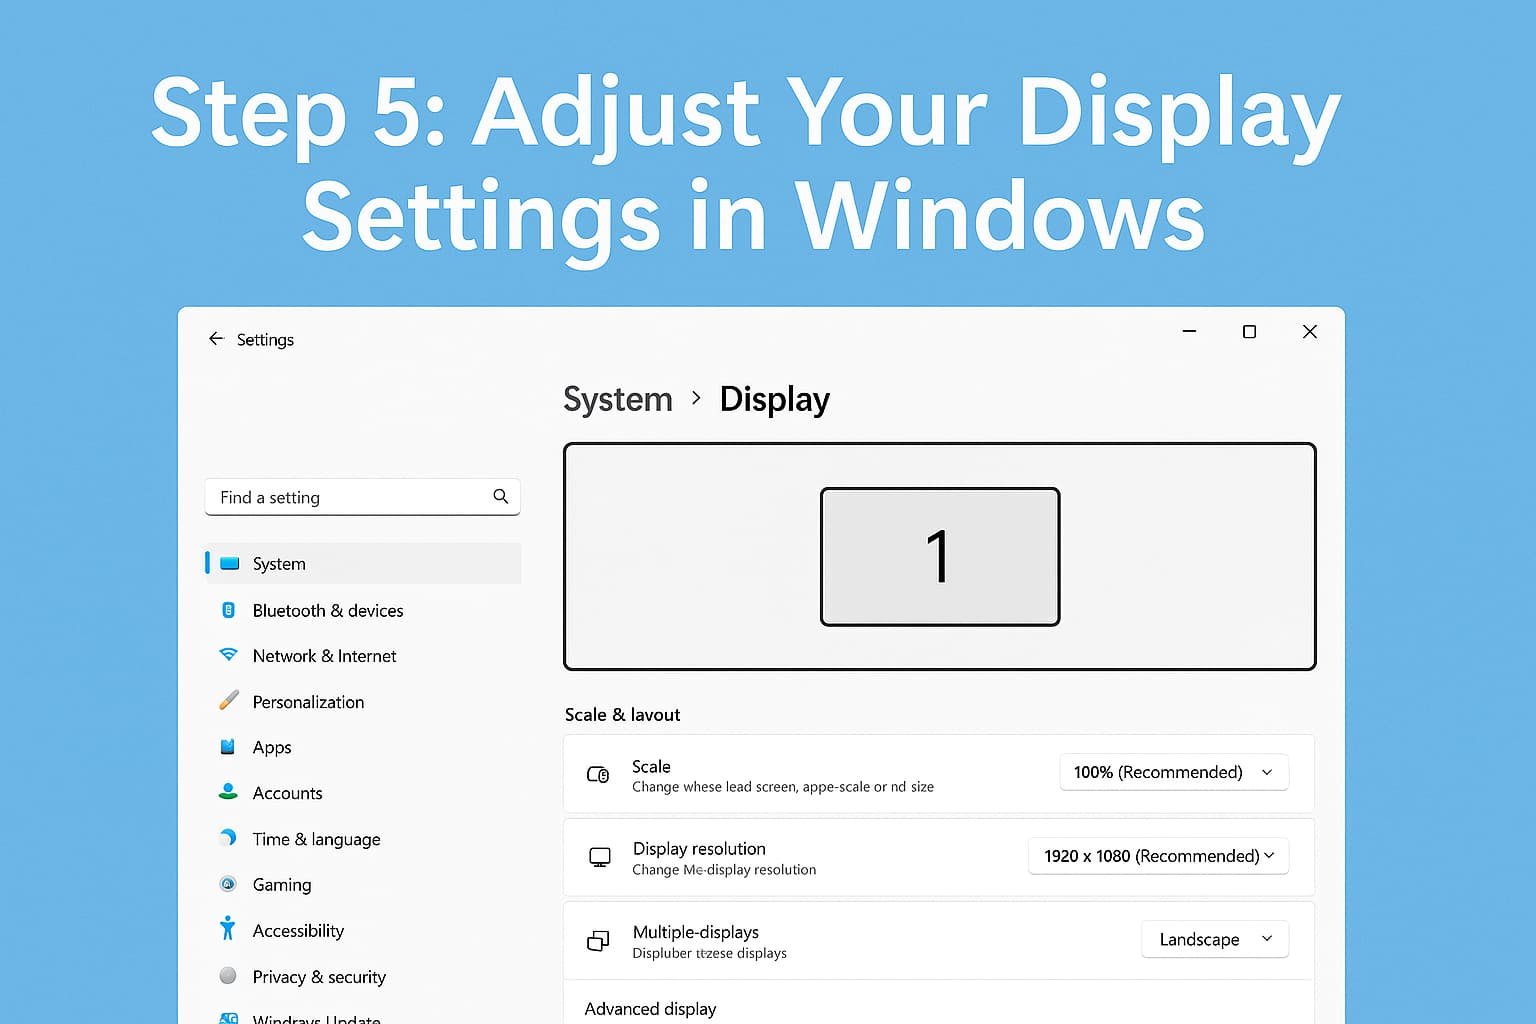
Right-click anywhere on your desktop and select Display settings. You’ll see options for adjusting resolution, screen orientation, and which monitor is primary (if you’re using more than one).
Set the Right Resolution
Scroll down and look for the Display resolution dropdown. Make sure it’s set to the maximum your monitor supports. If your monitor is 1440p, you’ll want 2560 x 1440. If it’s 4K, go for 3840 x 2160.
Sometimes Windows defaults to a lower resolution, especially if you installed the monitor before installing your GPU drivers. If things look blurry or too big — this is probably the reason.
Set the Refresh Rate
Now click Advanced display settings (you’ll find it under the resolution section), then hit Display adapter properties. From there, click the Monitor tab and look for Screen refresh rate.
If you just bought a 144Hz or 165Hz monitor and it’s only running at 60Hz, you’re missing out. Change it to the highest number available — that’s the whole reason you upgraded.
“Going from 60Hz to 144Hz doesn’t just look smoother — it feels smoother.”
— pretty much every gamer after switching monitors.
Turn On Gaming Features (Optional)
Depending on your monitor brand, you might have built-in features like:
- Game Mode – often boosts brightness and contrast
- Black Equalizer – helps you see dark areas better in games
- Crosshair overlays or FPS counters
These are usually accessed through your monitor’s own menu (not Windows). Use the small joystick or buttons on the back or bottom of your monitor to open the settings.
If your monitor supports FreeSync or G-Sync, make sure it’s turned on in the monitor menu and in your graphics card settings. For NVIDIA cards, open the NVIDIA Control Panel > Set up G-Sync. For AMD, use the Radeon Software and enable FreeSync.
Extra Tips for Multi-Monitor Setups
If you’re adding a second screen, go back into Display settings. You’ll see both screens shown as rectangles labeled 1 and 2.
Click Identify to see which is which. You can drag and position the screens in the layout to match your desk setup — left, right, stacked, whatever you use.
Also, make sure to check:
- Primary display is set correctly (your games and taskbar will appear here)
- Resolutions and refresh rates match (if needed)
- Color profiles are consistent (or set manually if one screen looks off)
Troubleshooting Common Issues
Black screen?
Make sure both the power and video cables are secure. Double-check input source on the monitor.
Wrong resolution?
Update your GPU drivers. You can grab the latest version from the NVIDIA or AMD website.
No signal?
Try a different cable or port. Sometimes HDMI 2.1 or DisplayPort 1.4 matters more than you’d think.
Weird colors or blurry image?
Check if Windows applied display scaling (like 125%). Try setting it back to 100% and see if it helps.
Final Thoughts
Installing a new monitor on your gaming PC doesn’t have to be complicated — but a little attention to detail makes a big difference. When everything’s connected correctly and your settings are dialed in, your games will not only look better — they’ll feel smoother too.
If you just finished your setup, now’s a good time to try out a game you know well. You’ll spot the difference right away — sharper details, smoother motion, deeper colors. And if you paired your new monitor with the right refresh rate and graphics settings, the upgrade is absolutely worth it.